Posts
Posts


Hello beautiful people!
I have taken time off the last two days from blogging for some much needed R&R.
However, I did finish the chalkboard glasses and I have some photos and suggestions for you!
After I painted the homemade concoction for chalkboard paint (found here) I then let that dry.
I painted it thick remember!
After it dried I peeled off the tape.


 Now the trick in making your own chalkboard paint is to then take a piece of sandpaper. I used fine grain because I didn't want to scratch the glasses, but on a larger surface a stronger grain would probably be better.
I then carefully sanded it until the paint was smooth.
Then I used a piece of white chalk and there you have it!

 Pretty cool!?
Here are some suggestions that I have if you are going to try this at home!
First:
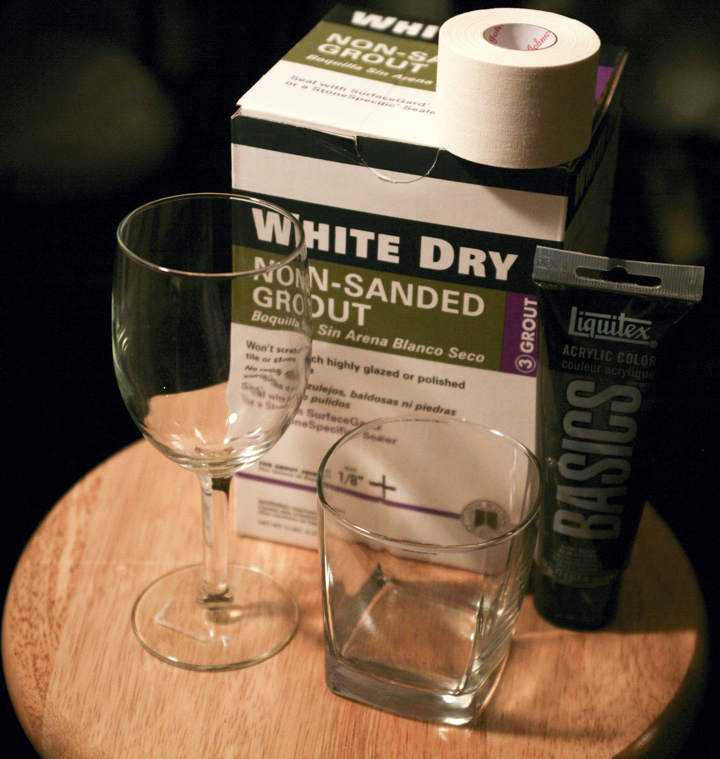
I definitely put in too much grout to paint. I never measure things, but in hindsight I would have added a little bit more paint to the mixture.
Second:
I didn't make sure my tape pieces were completely straight. Do this! I am a bit OCD and the ragged edges from the tape drove me nuts!
The project itself only took in total about a half hour (drying time not included) and I think they came out great!
For the second part of this post, I wanted to share how I have become paper flower making obsessed! I wanted to share with you some fun flowers I have been making.
I have been experimenting with colors and shapes and I am starting to get a feel for it.

 Would you guys like a tutorial for paper flowers? Let me know!
As for the lovely Sunday Photograph here it is my friends!
Check out this super Geeky temperature changing smiling mug! If that's not lovely I don't know what is!
Until tomorrow,
Love,
Jess
I have taken time off the last two days from blogging for some much needed R&R.
However, I did finish the chalkboard glasses and I have some photos and suggestions for you!
After I painted the homemade concoction for chalkboard paint (found here) I then let that dry.
I painted it thick remember!
After it dried I peeled off the tape.


I then carefully sanded it until the paint was smooth.
Then I used a piece of white chalk and there you have it!


Here are some suggestions that I have if you are going to try this at home!
First:
I definitely put in too much grout to paint. I never measure things, but in hindsight I would have added a little bit more paint to the mixture.
Second:
I didn't make sure my tape pieces were completely straight. Do this! I am a bit OCD and the ragged edges from the tape drove me nuts!
The project itself only took in total about a half hour (drying time not included) and I think they came out great!
For the second part of this post, I wanted to share how I have become paper flower making obsessed! I wanted to share with you some fun flowers I have been making.
I have been experimenting with colors and shapes and I am starting to get a feel for it.


As for the lovely Sunday Photograph here it is my friends!
Check out this super Geeky temperature changing smiling mug! If that's not lovely I don't know what is!
 |
| Found on Geek Living Daily Blog |
Love,
Jess